April 25, 2011

Happy Easter!

I hope everyone had as great a day as I did yesterday.  After hearing a wonderful sermon at church, we came home to finish up getting the house ready for family to come over. Things were a bit delayed, which is usually the case in our family, lol. Luckily, though, the severe weather that Arkansas had yesterday managed to go just to the north of us and we had a beautiful day.  We did get a few sprinkles and a small shower, but nothing that lasted very long.  Instead of the traditional Easter feast including ham, potatoes, etc., we had a family BBQ and I really enjoyed that. I had some left over BBQ nachos for lunch today even - YUM!

I made a sweet little shirt for Jesse and dresses for the girls, though my oldest daughter's dress did not get finished in time for church. I had told her that this year she would be helping in the process and had reminded her daily all week that she needed to cut out her fabric. She didn't cut the last piece out until Easter morning and, while we were very, very close to finishing, we still needed to attach the bodice to the skirt and put in the zipper but ran out of time. I did finish it that evening after most of the family had left, however, and it turned out really nice. I still have those pictures to edit but will hopefully have them for you tomorrow.

I did promise pictures of some new items I have listed on Etsy, so we will do those today. Some of these I just listed today even.

First up is a girls size 6 T-shirt with an appliqued Eiffel tower. I used the frayed applique technique on this one and I believe it turned out very cute. I couldn't applique to the middle of the front of the shirt as it had a gathered neckline, but I think the placement makes it unique and fun. The shirt style also is great for those girls who aren't necessarily your more slender body type. I can make these in 4-6x and even in a couple of diferent colors. If you like this one, you can purchase it here.


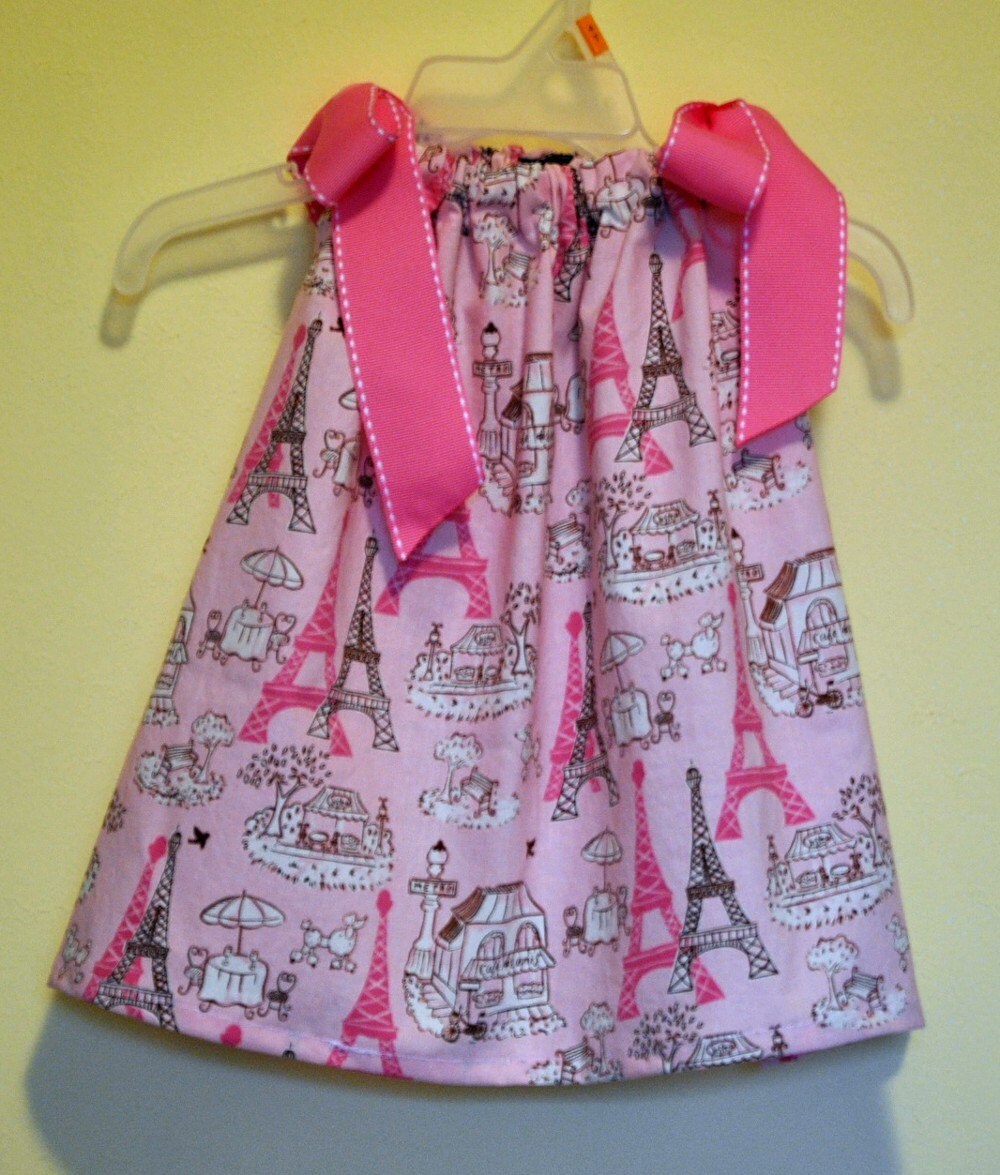
Apparently, I have Paris on the brain today because I also listed this super cute Viva le France pillowcase dress today. I made this for the secretary where my husband works as she wanted one for her daughter. Since I was making one, I figured I might as well do a few more!  So, this is available in a 6m, 12m, 18m, 2T and 3T ready to ship. I have more fabric, so making other sizes won't be a problem. You can purchase the 6m or 12m version here and the 18m, 2T or 3T version here.

I'm  really excited about the fact that I now have size tags to put in all my custom creations. Now my customers will no longer have to guess at what size their handmade item is - yeah! These are woven tags, not stamped, screen printed or a ribbon tag with the size painted on it with fabric paint. This means no matter how many times you wash it, you will always know what size it is. :)


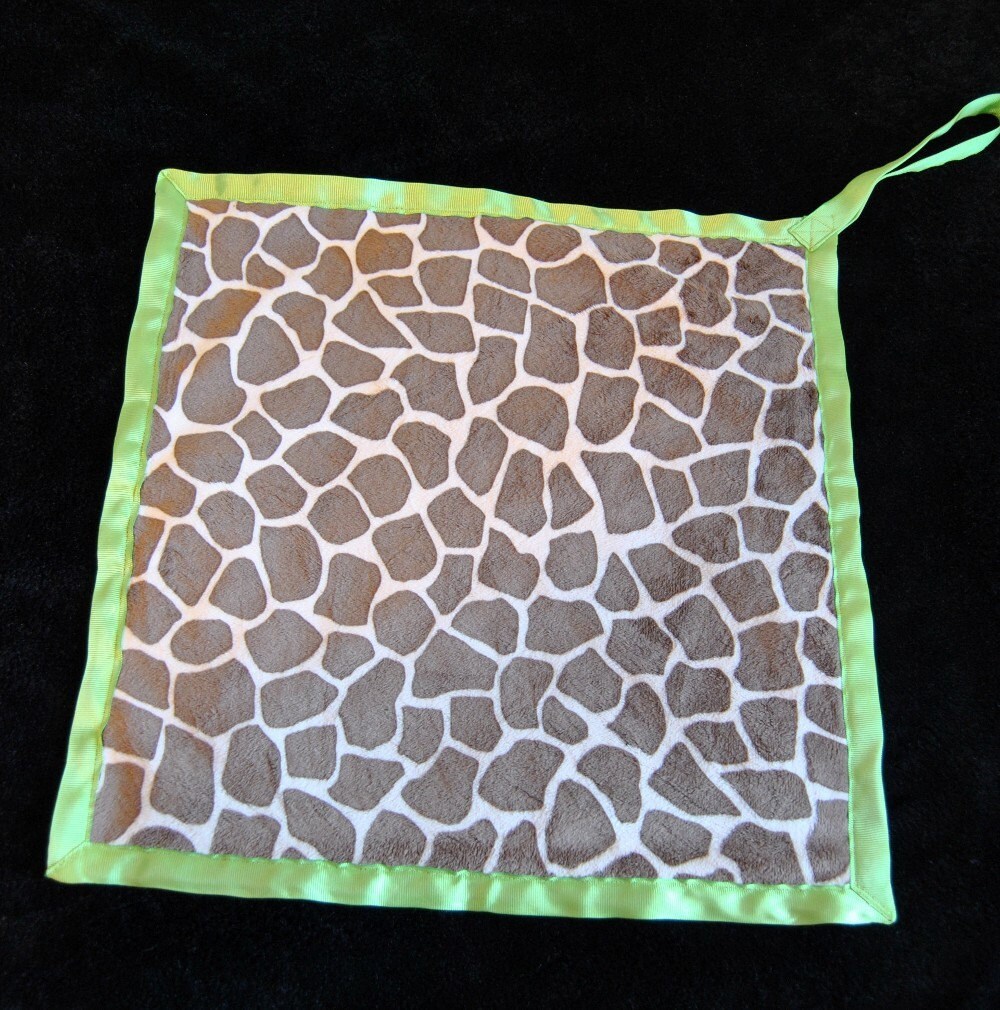
I have also added a completely new item to my shop, a Lovie (aka tag-along or security blanket). I have actually had them for nearly a year now, but have just now taken the time to get them listed. They are made with minky on both sides so they are super soft and awesome at resisting staings. I bind them with grosgrain ribbon so they stand up great to those active toddlers! You can find the giraffe one pictured below in my Etsy store here. I can make these in all sorts of patterns and colors so send me an email (simpliegirlie@ymail.com) if you'd like one custom made. :)


Besides the custom birthday short sets that I have already talked about in my last two posts, I am working on getting several short sets listed and ready to go.  These are also going to be available at Monogram It! in downtown Arkadelphia for those of you in that area. I have several plaid versions in the works and some other cute boyish fabrics. There are actually about 10+ pair that I have serged already and just need their elastic casing and hems done and they will be ready to list. Of course, I am also working on some orders in the meantime so it may take me a bit to get them finished up, though I plan on having them done by this weekend for sure. I did list this Boogie Monster set Saturday. I have them in 2T, 3T and 4T. You can choose red, blue or white for the shirt and I will add your little monsters initial or age to the front of the shirt in the same fabric as the shorts. Super cute! Find it here.  


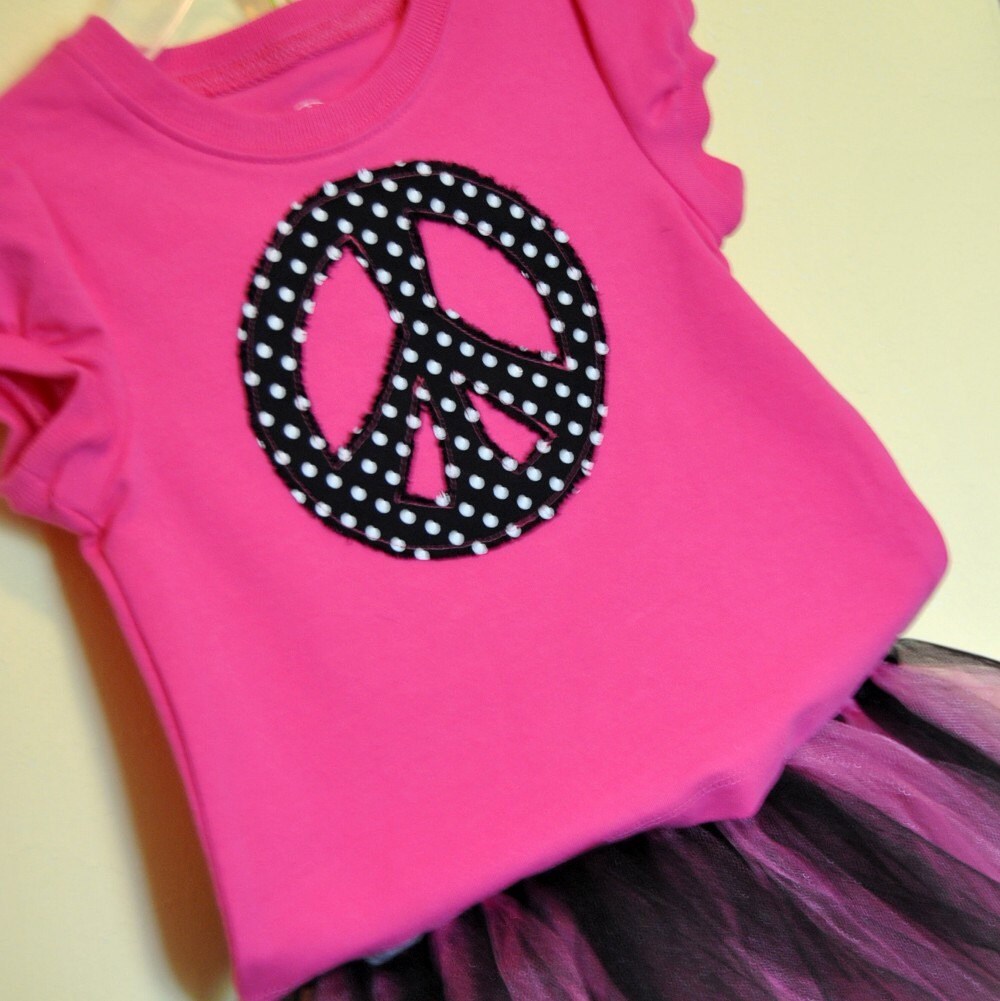
I also listed this adorable Peace sign appliqued t-shirt, tutu and hair bow combination. The bow is made by my friend Anessa Burgard of Vilonia. She does an awesome job and this bow matched the outfit absolutely perfectly. I only have this in a 12month. I do have one more shirt like this in a 3T so I can made you an outfit that size if you'd like. You can find it here.
There are several other items I have listed in the last couple of weeks. I figure for today, you've probably seen enough, lol.  You can visit my online store Simplie Girlie Designs on Etsy anytime day or night. You can send me messages there as well and I try to anwer them ASAP so just send me a note if you have any questions. You can always send me an email to simpliegirlie@ymail.com as well or visit my fanpage on Facebook.

Thanks for reading and have a wonderfully blessed day!

April 23, 2011

Jesse's 3rd Birthday

Woohoo!  Two days in a row, can you believe it?  LOL  Can't get too excited yet - better wait until I've done this for at least a week to do that!!

Anyway....I promised photos of Jesse's third birthday including his cake (my very first 3D cake ever btw) and the outfit I made to make his party theme, so here we go. :)

My son loves the Disney movie Cars so we went with a Cars theme this year, which turned out to be really fun. He was very much into the entire process helping me pick out party ware at Party City in Little Rock. Everything was "Wighning MaGween" LOL I heard it everywhere every single time he saw that little red car on anything! He wanted his "MaGween Pardy" everwhere we went. For days he'd come to me (several times a day in fact) and ask "MaGween Pardy?"  This lasted even after the party because every time someone opened the fridge he'd see his cake in there and he'd start asking for a party again, lol.  Think maybe he liked his party?

So, I made him his own special McQueen outfit complete with shorts and an appliqued t-shirt to match. They turned out really cute.


After posting this on Facebook, I had a friend ask me to make a set for her son and had a few comments from people when I'd run into them in person so I decided to list it in my Etsy store. If you'd like one for your own little munchkin, you can find them here.

I didn't manage to get a picture of the entire outfit on him. That boy of mine is one active little booger so most pictures wound up too blurry to use even when using the sports setting. I am going to have to find some time to learn how to use the manual settings so I can get better action shots. I did manage to snap this picture before the festivities officially began.


And this one after he opened one of his presents.


 For every birthday, I search the internet for pictures of cakes in the theme of the party or, in my older girl's cases, the colors they want their party. Of course, I found all sorts of Cars cakes. In my search I ran into a blog that gave a tutorial on how to do a Cars cake in the shape of the car. I must say that it looked rather intimidating to me, but we love to go above and beyond for our little squirts so I decided I would give it a go.  Honestly, I thought several times of coping out just going with something more simple simply because doing this cake intimidated me so much. I had already posted a photo of the proposed birthday cake on Facebook, however, so I couldn't very well back out, lol. Gotta show 'em I can do it, right? ;)

This cake took one 9x13 cake pan and one 8x8 pan. The first hurdle was to sculpt the cake by cutting pieces of here and there and then adding cake to spots to get the basic shape of the car. I thought this part was going to make me pull out my hair, but I made it!


So, now I had to cream coat the entire thing and put it in the fridge to chill. After that I covered the entire thing in red fondant. I decided to make my life a little easier and get already made and colored fondant and I ended up using some buttercream fondant by Duff from Ace of Cakes. While fondant is not known for its flavor, I must say that this fondant was much better than the Wilton fondant I have used in the past. Of course, fondant isn't used so much for its flavor as it is for its visual appeal (imho). So, here we are after the fondant has been applied.


Now, fondant isn't the cheapest stuff in the world by any means when you are buying already made stuff so I opted for using buttercream to do the detail work. I still have a lot of my cake decorating things in Arkadelphia so I didn't have all of my bags and things and naturally didn't think about this until after I had been to three different stores to get everything I needed and was back at home - figures. So, i had one bag, ring and couplet which meant I could only ice with one color at a time. I also didn't have any vodka handy to use with my gel color so that I could paint the color onto the lightning bolt and the numbers, so mine looked more striped instead of fading from one color to the other, but no one seemed to mind (except me of course). Also, if you noticed in the first photo, the wheels fit beautifully. Umm...not so much after the fondant was put on the car and the wheels, lol. Oh well, the birthday boy loved it so I can live with that. ;)


I must say that for my first 3D cake I managed to impress myself, lol. It's far from perfect but I managed to keep my cool during the whole process, which is a miracle all its own (just ask my husband, lol). I think after doing this one, I can actually do one of those topsy turvy cakes I've wanted to do for a few years but have just been too intimidated to try. Thanks to The Fabulous Cake Lady for posting the tutorial for this on her blog. If you want to make one of these, you can find her instructions here.

In keeping with the Cars theme, I took a break from making things for customers and for my shop and made a quilt and pair of pillows for my son. Since he is quite a bit bigger than he was when I made his last set of blankets I decided he needed something much bigger that he could use for a while. Sure his baby blankets still cover him, but only if he stays perfectly still, lol.

Here is side one of his new pillows


And side two


And here is his new quilt/blanket. The back is a solid piece of black minky dimple dot so it's super soft and cuddly. (oh, and these pics are taken after it has already been washed twice)


To give you a better idea of size (it's roughly 50x60 inches), here is a picture of my son on his blanket. He's 40.5 inches tall.


Well, that is the post for today. My plan is to be back tomorrow with some more new items in the store and a new pillowcase dress I made yesterday.  Until then, I hope you have a wonderful and blessed day!